Cathy's Crafting Journey

Welcome to my blog, where I hope you will be inspired and want to share comments and your inspirations and tips too!! I love to create cards, mini albums, gift bags,tags, and boxes and I hope to take you on the papercrafting Journey with me!! Follow along!!

Followers

Showing posts with label Create A Critter. Show all posts

Tuesday, April 8, 2014

My favorite peep

My Favorite peep...

Good evening everyone, today I had a craft day..I did not have any grandchildren to babysit so I headed to my craft desk..I wanted to make Easter cards for the grnad children and my boys.  Above is one I made and I had fun with it, I cut the egg from Art Philosophy and the chicken from Create a Critter.  The tree branch was from Artbooking.
Other supplies used were flowers and half pearls from my stash, Ribbon from Really Reasonable Ribbon, and Martha Stewart punch..branches.  The paper is from DCWV.  I am entereing the card in the challenges listed below

BBTB2   Easter Bunny Challenge
My Craft Spot Challenge 132 Happy Easter
RRR #92  Flower or buttons and bows

Thanks for stopping by, please com back
                                  Happy Crafting
Cathy

Tuesday, October 16, 2012

Would You Ever Guess Wednesday?


     Good morning friends, this is my design team post for My Cricut Craft Room.  Today is Would You Ever Guess Wdenesday, and what we do on this day is make a project, not using the main Character images, and trying to show other ways, other then the obvious ones, on using a cut or cartridge.  This week I have to use a Create A Critter cartridg and not use the Animal cuts. 


     Papers used were from Michael's Recollections collections and DCWV and MY Mind's Eye. What I decided to do was take the Stamp cut on page 67  as an accessory,and instead of using it as a stamp, I made it into a picture frame.  I cut it out at 5 1/2.  I then took a piece of My Minds Eye and made the Mat.  Cut it at 3 1/4 by 4 1/4.     I then cut a log on page 72 in the accessory column at 1 1/2 and inked it with TH distress ink Walnut stain.  My next cut was the behive on page 68, cut at 2 1/2, and the edges were inked as well, and then a small piece of Trendy twine was added at the top.  Next I used the  flower accessory cut on page 69. cut at 2 inches.


     Lastly I used the Artiste cartridge to make a bow on the bottom of the card....I just Love this feature!!   After I cut it out, I used a white gel pen to make Faux stitching around the edges. and added a Rhinestone brad to the center.  I used the stamp Your the Best, from CTMH. For bling, I used Bo Bunny gems .

Well that is today's project, hope you like it, leave a comment:) I love them.

Now to see more projects like this head over to Erica's at http://mycricutcraftroom.blogspot.com


Have a super day!!              Cathy

Thursday, October 4, 2012

MCCR Scrap book Friday


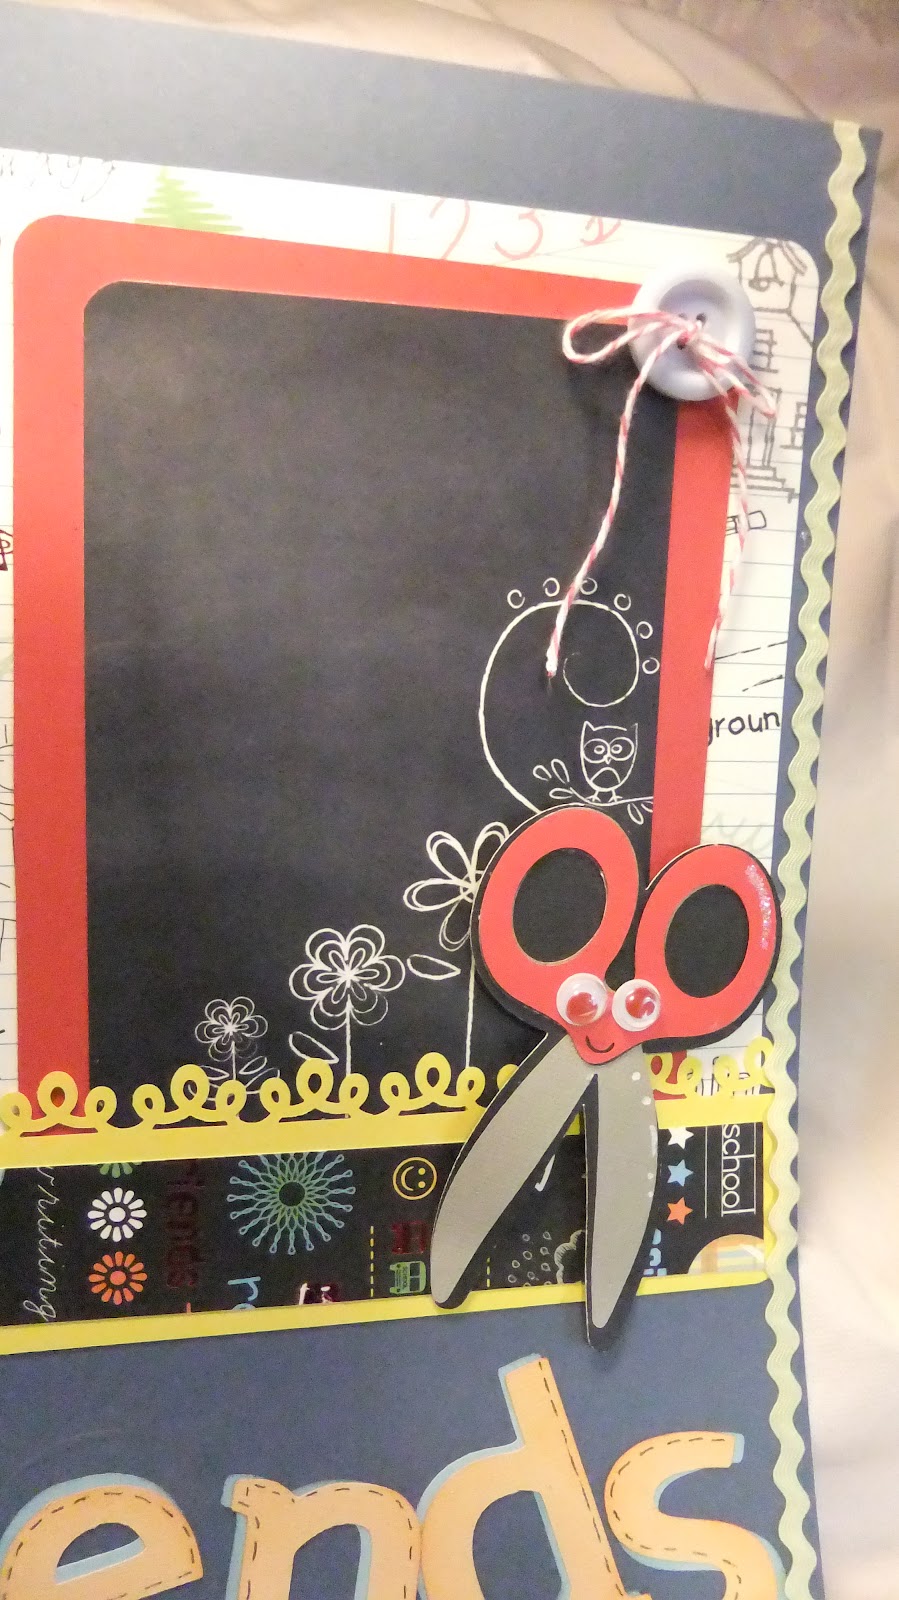
Hello my crafting friends, this is my design team post for My Cricut craft Room. Today is Scrapbook Friday and we are celebrating  World Teachers day and doing layouts featuring Back to School.  I did a 2 page layout, showing things that young children love about going back to school.  When they are young they like the idea of having their  "own" Glue, Scissors, Crayons, Backpack and of course their new teachers and friends.  Before I get to the details of my post though, I want to mention the Pink Graphics.  We are using the pink to show awareness of the people who have had or know someone sufffering with breast cancer, we know it can be devastating and we want to make you aware so you will have your self checked regularly.  We as a team will inc orporate the color in to our projects in solidarity.  My pink is in the rosey pink cheeks of the apple and the glue:) 
 
 
Simply Charmed has adorable school supply images, so I used it to cut out the scissors and glue and carayons, using DCWV cardstock, and of course  I added some google eyes to give them some character.   I then used Art Philosophy to cut out the 1 2 3 and A B C.  I  cut each out 2 times , once in a light orang and the second in a light blue, glued them together a little offset to add dimension.
 
 
On the backpack  I added a rhinestone brad as a button abd some rhinestone flowers to dress it up a bit. and did some faux stitching, on this as well as a lot of the other elements. 
 
 
For a lot of the matting and strips of paper I used the DCWV Grade School pack. I love the one above which looks like a chalk board.  I also used one of Martha Stewart's Border punches, for the yellow border strip, not sure of the name, got it at a yard sale.  In the corner I found a button and tied a bow with twine.


I aslo found a cute apple to add from the Create a Critter Cartridge.  By the way most of the characters were cut at 4 inches, the apple at 3. One of the final touches was a strip of rick rack down the sides. 
Other supplies used in creating the layouts were, pop dots, white and black gel pens ATG gun, zig pen, and paper trimmer.  I hope you enjoyed today's project and it makes you want to get a start on your childs back to school layouts, have a great day.
 
To see more projects like this today go to Erica's at  http://mycricutcraftroom.blogspot.com
 
Happy Crafting   ~~  Cathy