Happy Sunday my friends. Hope you all enjoyed your weekend. Mine got a little crazy. My hubby just had surgery on his knee because he had a real bad infection, believe it or not because of him having several falls recently. Well this weekend, he fell on the knee he had surgery on and opened up 26 of the 30 staples he had. So a trip to the ER for him, He is doing better now, but that poor man has been through a LOT. Multiple Sclerosis is a real tough disease.
Any how, I recently posted on Facebook some Elephant projects I had made using KaDoodle Bug Designs file CK~Baby Elephant and a few people wanted to know how to make them so I told them I would do a tutorial....
First, I had downloaded the SVG file to my Cricut Design Space and opened it on the mat..
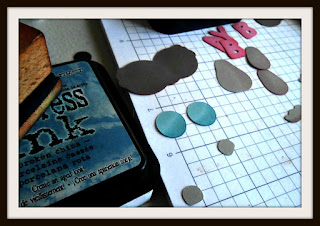
then I begin cutting all the pieces in the color I want...
I usually use only Close To My Heart cardstock, cause it always cuts beautifully
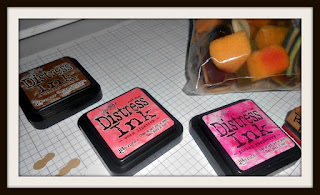
then I take out the inks I am going to use to ink the edges...
I usually use Tim Holtz distress inks.
In this case Vintage photo.Won Lipstick, Pickled Raspberry and Broken China
then I start to glue the pieces to the background shadow that KaDoodle Bug Designs usually has with her files.
I start from the back and work forward, it helps to have the file photo handy to quide you
Below is the pieces all put together. as you can see the arms and a couple of the peanuts were not used..that is so if you wan to change up the picture a little, and put the baby block somewhere else, you will have arm for the elephant, and I use the extra peanuts for embellishing the card.
these are the adhesives I used.
Below is the Elephant brought to life...hilights with white gel pen, and Eyelashes with micron pen
And here is the card made with my little Elephant
And there you have it.... I hope you enjoyed the tutorial and will leave a comment below:) Please come back again
Happy Crafting
Cathy


