Cathy's Crafting Journey

Welcome to my blog, where I hope you will be inspired and want to share comments and your inspirations and tips too!! I love to create cards, mini albums, gift bags,tags, and boxes and I hope to take you on the papercrafting Journey with me!! Follow along!!

Followers

Monday, September 22, 2014

Atlantic Hearts Sketch challenge 74


Hello everyone, I hope you all had a nice weekend.  I have been very busy this week putting together a babyshower for my daughter-in-law.  She is due in 3 weeks But I think she is going to go earlier, this is her second child and her first one was quick and easy, so I am thinking this one will be too.  Plus I have been making things for a craft fair next month as well. Soooooo, I have not blogged much.  

so today I want to share with you a card following the Atlantic Hearts Sketch above.

I used Close to My Heart's Snowhaven paper pack and CTMH stamp set Sing Glory..available as a hostess reward!!!!

And here is the card I made...the mouse was made with a combination of circles, hearts flower and fancy square.  the snowflake was cut out from the artiste cartridge and the star in the center is a chipboard shape from the Snowhaven Compliments.


I made a few of these little mice, I though they would be fin on Christmas cards or gift bags.  I hope you will give our sketch a try. would love to see what you create.  The link is here


Thanks for stopping by, Happy Crafting
Cathy 

Monday, September 15, 2014

peekaboo easel card tutorial

Happy Monday everyone, hope you all had a great weekend.  I spent a lot of mine at a laundrymat..ugh.  both my washer and dryer went on the fritz and still waiting on the repairman.  When I was not there, I snuck in a little time to do some card making.  I saw a tutorial on Dawn's Stamping thoughts blog for a peek aboo card and HADDDDD to try it.  after I posted on Facebook, I was asked for instruction, and I figured the easiest way was to do it on my blog with pictures...so here goes..
below is the dimensions of the base of the card, and where it needs to be scored....4 1/4 by11, score in 1/2 and on left panel, score diagonally from botttom to top.

Below are the 3 mats I put on the card. each 1/4 smaller than the other..


Below are some other supplies you will need.


A 1 and 1/2 circle punch was used to put a circl in the Base of the card in the bottom section of the diagonal score...(you can use whatever die cut that you can easily copy on to your next mat, or punch)


Below is a picture of the Base card, which I punched..then I placed it over the 4 1/4 by 5 1/2 piece of cardstock and then traced the circle on to the the mat, so I would know where to punch so they would line up...

I then took the 4 1/4 inch by 5 1/2 mat and lined up the two pieces that were 1/4 inch smaller  and traced the circle again so i would know where to punch...

this is what it looks like with all pieces done..


My next step was to heat emboss my image onto the small piece of vellum, using Versa Mark and black embossing powder and the heat gun...

Then I taped the image on to the back of the brown 4 1/4 x5 1/2" mat..making sure to keep the vellum so that it will not show when it is attached to the base in the back, because only the lower half of the diagonal base hAS adhesive as you will see in next image..


Now I added all the other mats...


here is the inside of the card mated, and I used popdots under the "Peace on Earth" sentiment. to raise it so it would hold card opened.


Behind the card I put the tea light


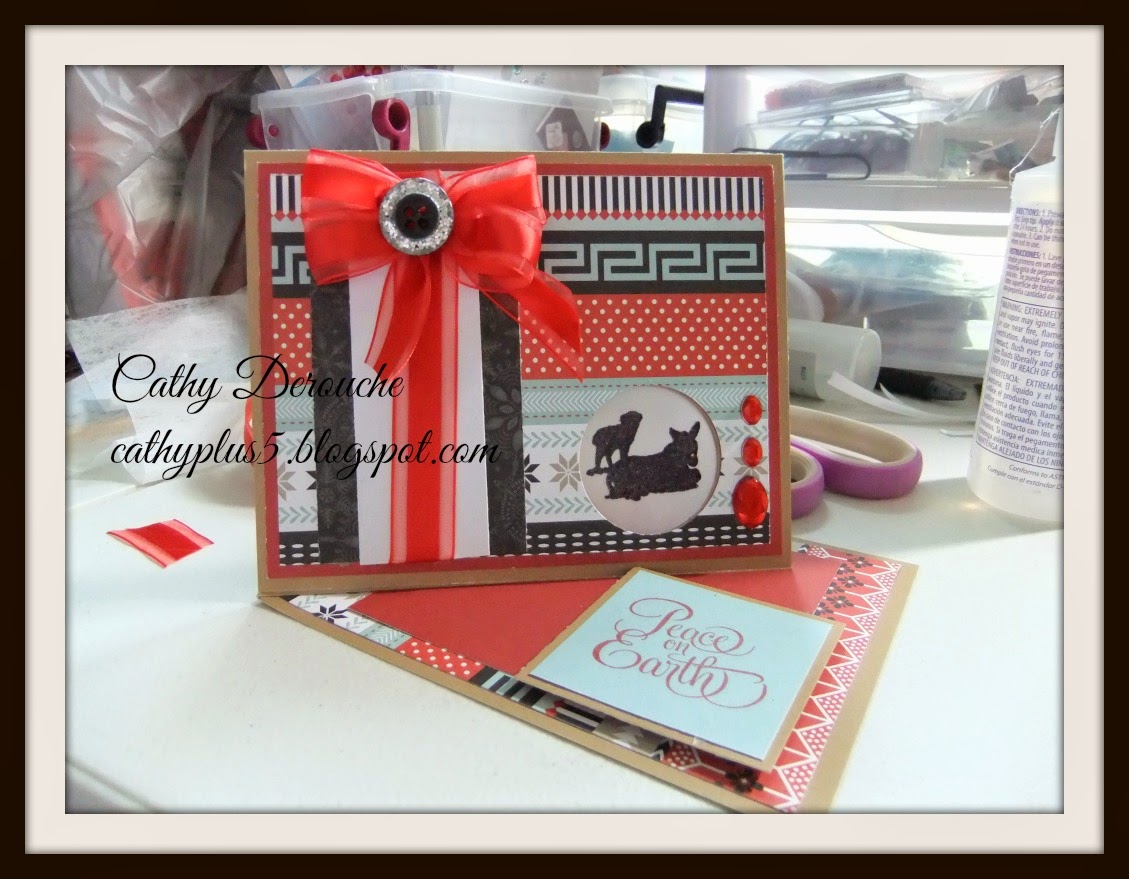
Here is the card finished

Here is the box I made for it..


I used Close to My Heart's Snowhaven paper, I just love it!!!
 I hope you like my project and you can understand the tutorial.  Have a great night...

I am entering this card in the Sailing Pineapple Party times challenge  here
Cathy


Friday, September 12, 2014

Cricut® Artfully Sent


sharing an awesome video to show you some of the great features of the new Artfully sent cardtidge, soo soo many thing so do and make.

here are some sneak peeks of the awesomeness of this cartridge..


there is so muchmore to see and do, so what are you waiting for?
order yours here

Septembers stamp of the month
$5.00 with purchase of $50.00 or more

Septembers special...
this cute stamp set for FREE with purchase of $30.00 in stamps from the idea book
sooo much goodness packed in one book.  Have fun shopping.
Cathy


Thursday, September 11, 2014

Artfully Sent Features


Artfully Sent!!
Finally here

Been called the cardmakers dream..

Here is why...
It has:

*700 images

*25 cardmaking themes

*400 different cards to create


*7 card functions- Pop-up cards, Pocket

 cards,Overlay cards, Build-a-scene cards

, Sentiment Cards, Swing Cards and Picture

 My Life Cards

*An Alphabet

*Envelopes

It comes with:

*3 Stamp sets: Sentiments, Frames and 3

 Alphabets

*White Daisy Cardstock


Here is September's Stamp of the Month. Yours for $5.00 with the purchase of $50.00

This month Campaign Celebrates 30 years of creating...
Purchase $30.00 in Stamps and get the above stamp set FREE!!!!!


Happy shopping...
Cathy

Arttfully Sent CTMH cartridge AVAILABLE NOW


Ready and available now!!! head to my website and order yours,  It is the card makers dream come true...I would love to have your sales so come on over and check out the website here


Snag your $5.00 stamp of the month while you are there...and thank you.
Cathy

Tuesday, September 9, 2014

Gift bags for all occassions

Good morning everyone.
I am up early this morning, to go see another grand child on his first day of Pre-K.  It is starting to feel like a little Fall is creeping in in the mornings lately...ugh.

Well today i want to share how I put some little bags together.  I was going to do a short video, but the instructions are easy so written tutorial should be good.  I am doing a lot of traveling this week for hubbies doctor appointments an car repairs. so this is easiest.


I used assorted paper packs from CTMH and will list them..
Scaredy Cat-x7185b
Confetti wishes-x7189b
Seaside-x7192b
Art philosophy cartridge-z1686
Artbooking cartridge-z1906 
inks..thistle z2640
chocolate-z2111
brads
adhesive score board
score tape
Liquid glas adhesive for flower-z679
paper trimmer
_________________________
instructions:
pattern paper cat at 5 X11 inches
cut a border from catridge or use paper punch that is 1 by 11 inches.
(Can be a little wider if you wish)
base of bag is 4 and 1/2 by 4 and 1/2
____
score  base one inch all the way around and the trim in one inch all the way around up to the score line...then I trim with an angle cut and add score tape
Then add score tape to the 5 by 11 paper


Then wrap the 5 by 11 around the base

I cut the purse fastener out fo the Art Philosophy cartridge at 1 and 1/2 inches


attached to the purse and added the brad and voila..ready to embellish!!


have a great day and have fun
Cathy


Monday, September 8, 2014

Atlantic Hearts Sketch challenge #72

Good Morning everyone, hope you all had a great weekend, I know I did, The weather was gorgeous, I got to do a lot of crafting, my fmaily is all good, what more can a person ask for?
Well today Is my turn to post for the Atlantic Hearts Sketch Challenge #72, above it the sketch and with fall coming, I though I would take out my 3 Birds on Parade Cricut cartridge and do up a quick Halloween card.
I also used the Scaredy Cat paper collection from Close to My Heart, and the Perfect Fit Halloween stamp set with the Slate CTMH ink.

I had some purple gems that I got at one of my shopping excursions and can not remember the company, sorry.
Oh...and I added an Action wobble!! on the birdie vampire video below shows it in "action"


Cute, Huh?? I love Action wobble, do not know why I do not use them more.

So now..go pick out some paper and  start your post for the Atlantic Hearts Sketch challenge and enter yours here.

Have a good day, Happy crafting
Cathy


Saturday, September 6, 2014

Holiday Planners

Happy Saturday everyone,  Did anyone do anything crafty today?
I did, I decided to try a couple Holiday planners I saw on Pinterest.  I just love Pinterest, you can find soooo many different things to do with paper!!! Well check out the adorable Holiday p;anner I made with the Close To My Heart paper pack.....You can purchase here


View one of the planner, I used a magnet for the closure, but the tutorial I followed had a brad,and silver elastic band to hold it closed


View 2..the planner opened up, you have 4 pockest with each having a different list and there is also a pen holder and calendar of December on the end.
The lists include
1-Stocking stuffer list
2- Oct, Nov, December to do list
3-cards to send list
4-Christmas Gift Lists


View 3..A better view of the pen and back flap.


Here is another planner I put together
Front view...


Back view...
pocket for receipts

Inside view...

phew, that is it for pictures.
Now I will share a link to the tutorial I found for the top planner, she did a real good tutorial

Have a great day..Happy Crafting
Cathy