Luggage gift Box for mini Shots

First of I used Garden Green cardstock # 102584 from Stampin' Up! for the base of my box cut at
10 1/8 by 8 3/4 scored on the long side at
1 3/8~2 3/4~7 3/8~8 3/4
on the short side-
1 3/8~ 2 3/4~ 6~7 3/8

For the top of your box you need 9 5/8 by 8 3/8 Card stock~LID
scored on long side @
1 1/4 ~ 2 1/2~ 7 1/8~ 8 3/8
on Short side score @
1 1/4 ~ 2 1/2~ 5 7/8~ 7 1/8
I used Very Garden Green CS # 102584
For the wrap around for the box I used some of the new Designer Series paper from Stampin' Up! Toile Tidings # 150432 in the holiday catalog which is launching on September 4th (need a catalog?? message me)
This piece is 10 and 1/2 by 4 and 1/2
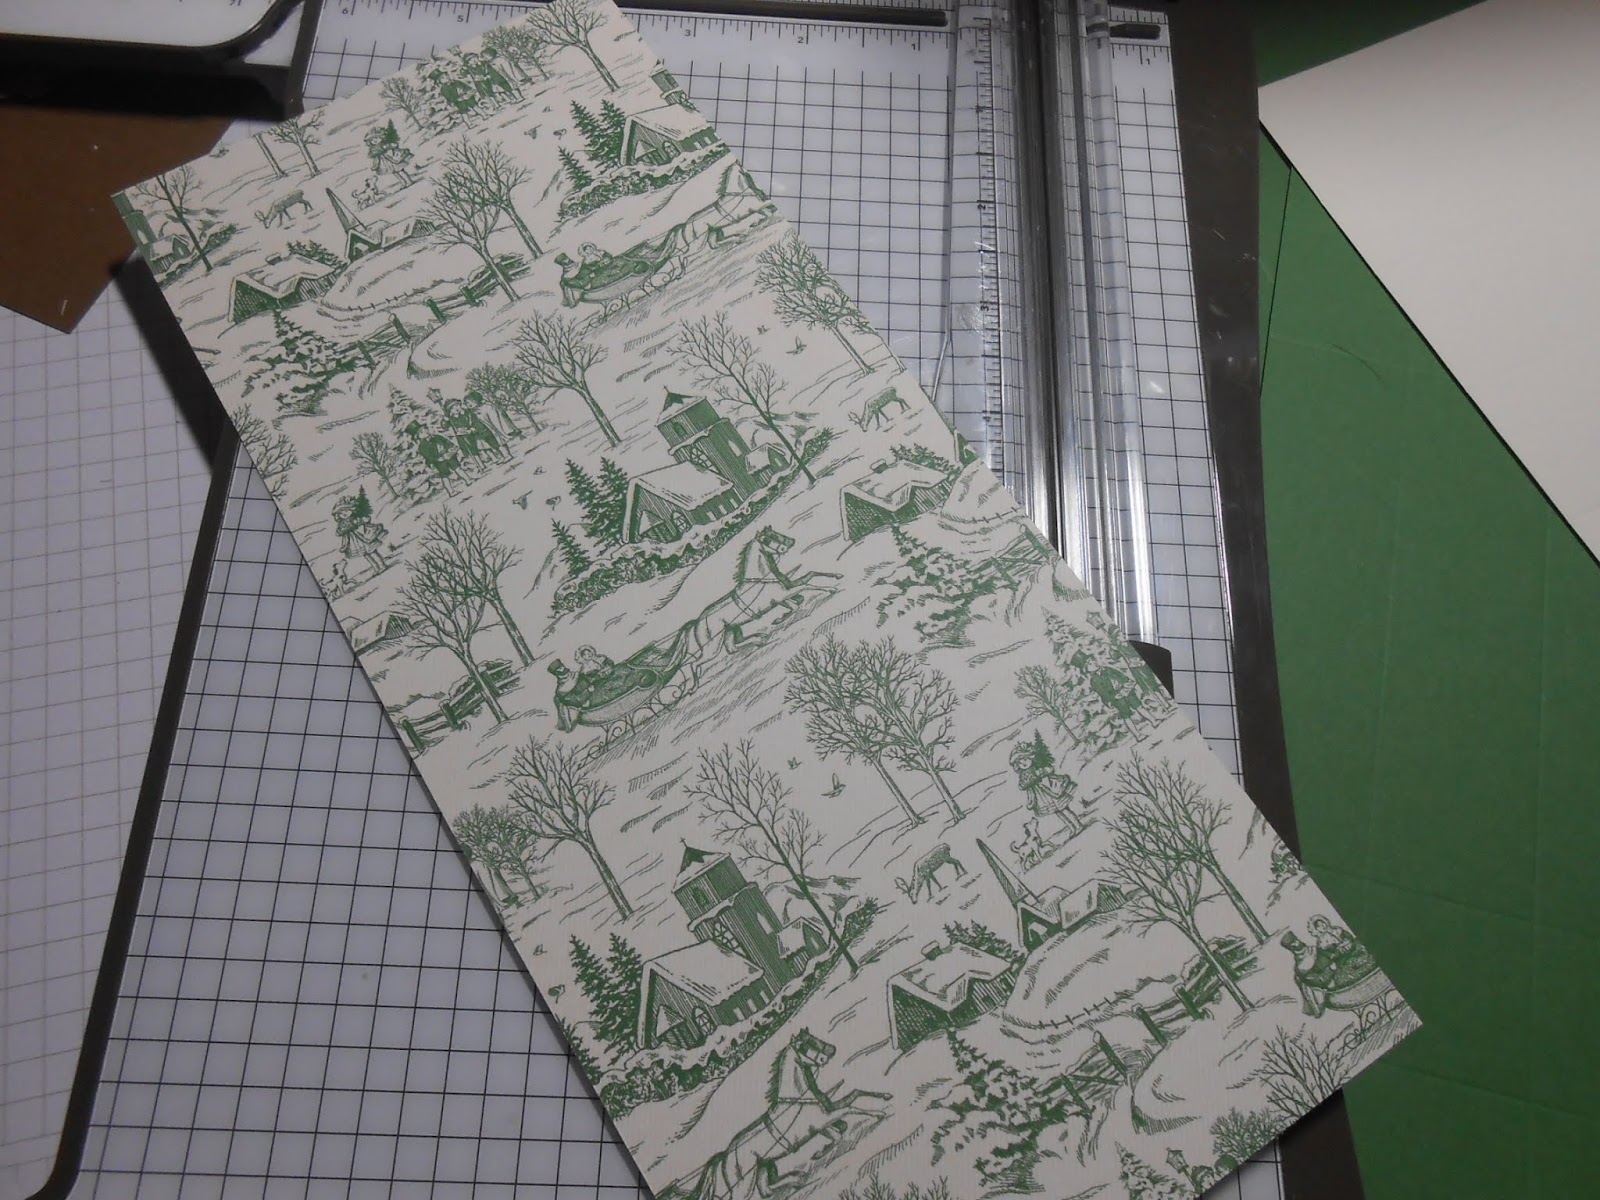
..I did not score it, just wrapped around box , pressed on corners to make crisp edges and then used tear n rape to hold

For the Handle. I used garden Green again
Cut 5 and 3/4 by 1 and 1/2
score at 3/4 on Short side and then
long side 3/4 and then 1 and 1/2 on both ends

Fold and burnish all score lines and then cut out sections so your box pieces like picture shown. which ever end you decide to cut.. do the opposite side.. for example I line th uncut piece in front of me so the center of the card stock, will show the wide side of the box..

Add Tear and Tape #138995 to all four ends on the top section of each tab.. only two were shown here but I did all four sides... (this is in side of the box)


Now for the insert. I cut a piece of very Vanilla CS #144237 @ 8 and 5/8 by 4 and 1/2...fold on score lines so it looks like picture shown.


I chose to add elements from the Bird Ballad trinkets #149594


I would like to give credit for Linda Parker for the inspiration in making this wonderful gift box
For all your Stampin' Up! shopping, head to my website
Use Hostess code for August
2QDNEHXB
thanks for stopping by and have a great day..
Cathy Derouche
No comments:
Post a Comment