below is the dimensions of the base of the card, and where it needs to be scored....4 1/4 by11, score in 1/2 and on left panel, score diagonally from botttom to top.
Below are the 3 mats I put on the card. each 1/4 smaller than the other..
Below are some other supplies you will need.
A 1 and 1/2 circle punch was used to put a circl in the Base of the card in the bottom section of the diagonal score...(you can use whatever die cut that you can easily copy on to your next mat, or punch)
Below is a picture of the Base card, which I punched..then I placed it over the 4 1/4 by 5 1/2 piece of cardstock and then traced the circle on to the the mat, so I would know where to punch so they would line up...
I then took the 4 1/4 inch by 5 1/2 mat and lined up the two pieces that were 1/4 inch smaller and traced the circle again so i would know where to punch...
this is what it looks like with all pieces done..
My next step was to heat emboss my image onto the small piece of vellum, using Versa Mark and black embossing powder and the heat gun...
Then I taped the image on to the back of the brown 4 1/4 x5 1/2" mat..making sure to keep the vellum so that it will not show when it is attached to the base in the back, because only the lower half of the diagonal base hAS adhesive as you will see in next image..
Now I added all the other mats...
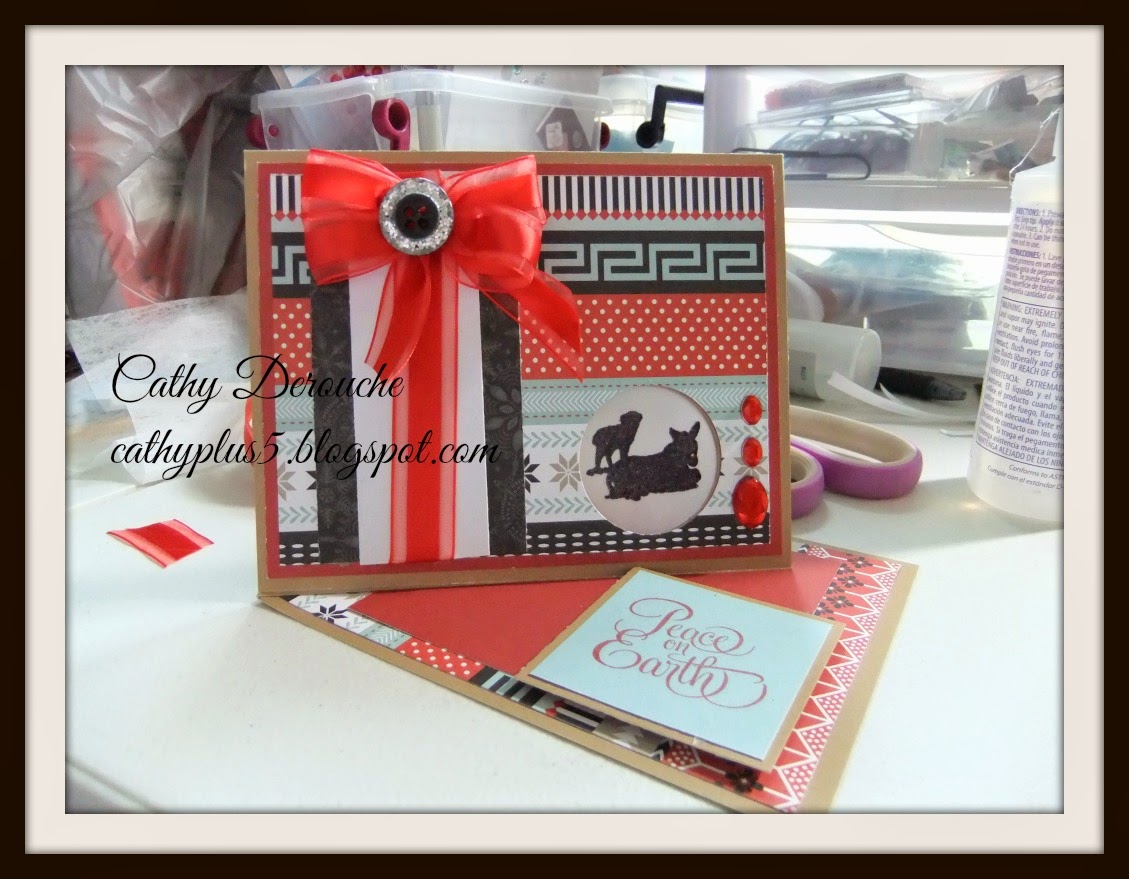
here is the inside of the card mated, and I used popdots under the "Peace on Earth" sentiment. to raise it so it would hold card opened.
Behind the card I put the tea light
Here is the card finished
Here is the box I made for it..
I used Close to My Heart's Snowhaven paper, I just love it!!!
I hope you like my project and you can understand the tutorial. Have a great night...
I am entering this card in the Sailing Pineapple Party times challenge here
Cathy


Oh wow, this is so fabulous!! What a unique and gorgeous card!! I love the design and the papers!! The box is incredible, too!! So, so beautiful!! Have a great evening :)
ReplyDeleteLisa
A Mermaid's Crafts
Wonderful card! Thank you for entering at The Sailing Pineapple!
ReplyDeleteGreat easel card. Thanks for linking this project up to The Sailing Pineapple blog :)
ReplyDeleteGreat card - very clever! thanks for joining us at The Sailing Pineapple!
ReplyDeleteGreat card brill idea thanks for joining us for our christmas challenge at the sailing pineapple.
ReplyDeleteTracey dt
Super cute card!!! and I Love Snowhaven paper!! :D
ReplyDelete